Showing posts with label Love Kitchen. Show all posts

Tuesday, November 30, 2010

.. CHICKEN WITH MUSHROOM CREAM SAUCE ..

..OISHIII!!!..
Seriously delicious!..thats the word that I can described for my Chicken with mushroom cream sauce..I don't know why, since I watched Julie and Julia movie..I'm so eager to try cooking French food..although I altered it cause some of the ingredient I can't eat or drink but still I manage to find something to change with it..actually you have to use chicken breast for this recipe..my hubby doesn't like chicken breast so I change it to chicken leg..so ladies..here's the recipe..

Ingredients
2 5-ounce boneless, skinless chicken breasts, trimmed and tenders removed (I used Chicken leg with bone)
1/2 tsp freshly ground pepper
1/4 tsp salt
1tbsp canola oil( I used olive oil)
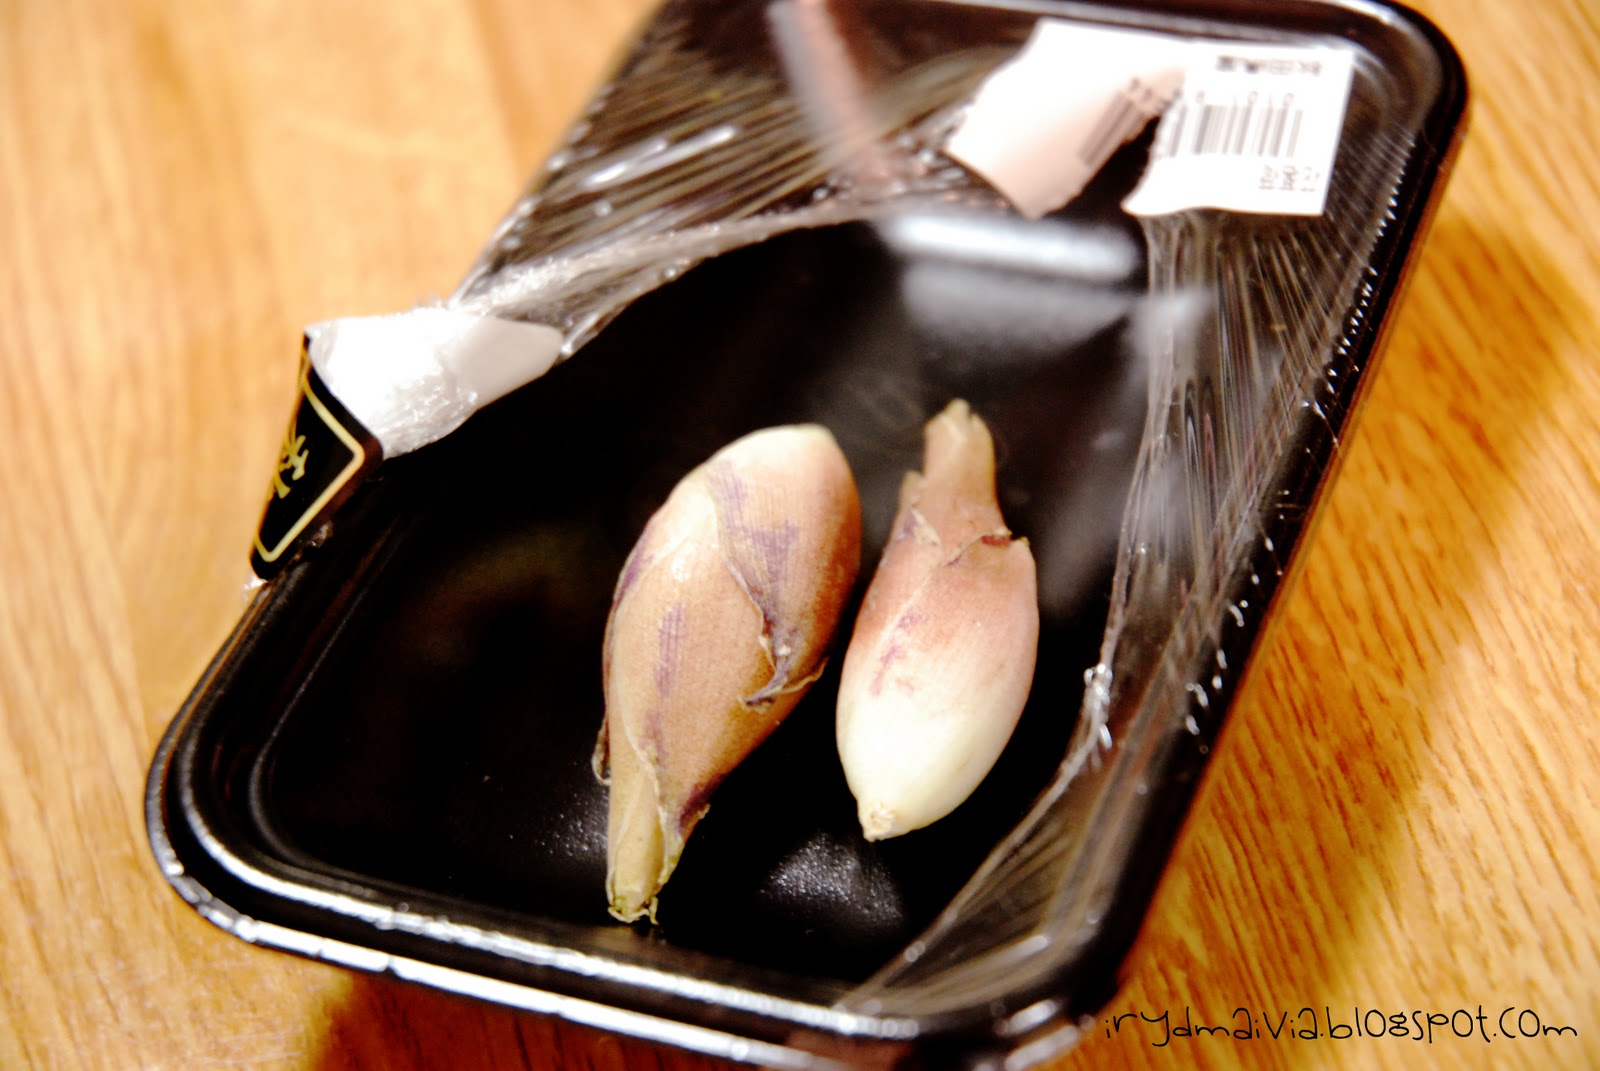
1 medium shallot, minced (I used yellow onion)
1 cups thinly sliced shiitake mushroom caps
2 tbsp dry vermouth, or dry wine (I just pour some water)
1/4 cups reduced sodium chicken broth (I used 1 chicken stock)
2 tbsp heavy crem ( I used whip cream)
2 tbsp minced fresh chives

Directions
1.season chicken with pepper and salt on both sides.
2. Heat oil in medium skillet over medium heat. Add the chicken and cook..(I grilled the chicken inside oven for almost 1 hour). Transfer to a plate and tent with foil to keep warm.
3. Add shallot (I used yellow onion) to the pan and cook, stirring, until fragrant about 30 seconds. Add mushroom; stirring occasionally (don't crowd the mushroom or it won't brown), until tender, about 2 minutes. Pour in vermouth or wine ( I just pour water), simmer until almost evaporated, scraping up any brown bits, about 1 minute, pour in broth (I used chicken stock) and cook until reduced by half 1 to 2 minutes. stir in cream and chives; return to simmer. return the chicken to the pan, turn to coat with sauce and cook until heated through, about 1 minute.

Enjoy your Chicken with Mushroom cream sauce..BON APPETIT!

Saturday, November 27, 2010

..BOEUF BOURGUIGNON..

..ANOTHER FRENCH COOK!..
I want to make this boeuf bourguignon since last month..finally I made my first Boeuf Bourguignon!!!!..It is actually a beef stew..in french they called it Boeuf Bourguignon..I can't make Boeuf Bourguignon 100% like Julia Child did..because I can't use wine inside my cooking and bacon too..so I change a bit..sorry Julia Child..I have to make Boeuf Bourguignon MY STYLE..:P

This is the actual recipe for Boeuf Bourguignon and how I change it..

Ingredients
2 large green leek leaves,(about 6 inches long)
1 bay leaf
1 stalks celery
2 sprigs fresh parsley with stems
3 sprigs fresh thyme ( I change it to 2 tsp of basil)
1 tangerine or orange peel (I just put 2 tsp of orange juice)
2 ounces pancetta or bacon, cut into 1/2 inch pieces ( I change it with mince meat)
3 pounds beef stew meat, such as chuck, trimmed and cut into1- to 1 1/2 inch pieces
2 tsp kosher salt, divided (I don't know what kosher salt is..I just used regular salt)
1/2 tsp freshly ground pepper, divided
2 medium yellow or red onions, chopped
3 cloves garlic, chopped
1 1/2 pounds carrots, sliced into 1 inch rounds
2 tbsp tomato paste
1 pound button mushroom, halved if small, quartered if large
1 bottles (750ml) full-bodied red wine, such as Burgundy or Pinot Noir (I change it with white grape juice or apple juice also will do)
1/2 cups chopped fresh parsley

Directions
1. Preheat oven to 250 degree F

2. To assemble bouquet garni: Place one leek leaf on the counter. Top with bay leaf, celery stalk, parsley sprigs, thyme sprigs and tangerine (or orange) peel. Place the second leek leaf on top and tie the bundle together in four spots with kitchen string. Set aside.

3. To prepare stew: Heat 1 tablespoon oil in an ovenproof Dutch oven over medium-high heat. Add pancetta or bacon (I used mince meat and put a pinch of salt) and cook until barely brown, 1 to 2 minutes. Transfer to a paper towel-lined plate, leaving any drippings in the pot.

4.Add beef in batches (do not crowd the pot) and cook until browned on all sides. Transfer to a large bowl and season with 1 teaspoon salt and 1/4 teaspoon pepper. 

5. Add 1 tablespoon oil to the pot and add onions and garlic. Cook, stirring, until the onions are translucent, 3 to 4 minutes. Add carrots and cook, stirring, until they begin to soften, 4 to 5 minutes. Stir in tomato paste. Season with the remaining 1 teaspoon salt and 1/4 teaspoon pepper. Transfer the mixture to the bowl with the beef.

6. Reduce heat to medium and add the remaining 1 tablespoon oil to the pot. Add mushrooms and cook, stirring occasionally, until they are tender, 5 to 7 minutes. Transfer to a small bowl; set aside.

7. Pour wine (I change it to white grape juice)  into the pot and bring to a boil, scraping up any browned bits. Return the browned beef, the carrot mixture and the reserved pancetta or bacon (I used mince meat) to the pot along with the bouquet garni. Press down on the beef and vegetables, making sure to submerge them completely in the wine; if necessary, add just enough hot water to make sure they are covered. Cut a piece of parchment paper to fit the pot and press it directly on top of the stew, covering it completely.

8.Transfer the stew to the oven and cook, with the lid off, until the beef is tender enough to cut with a fork, about 3 hours. Check every hour to be sure the ingredients stay submerged in liquid during the entire cooking time. If too much wine (or white grape juice) evaporates, add a little hot water to make up for the loss. During the last 15 minutes of cooking, stir in the reserved mushrooms.

9. Remove and discard the bouquet garni. Combine chopped parsley and tangerine (or orange) zest in a small bowl and scatter on top of the stew just before serving.

and here is my delicious Boeuf Bourgoignon!
You can eat it with bread..BON APPETIT!

Tuesday, October 26, 2010

..FINAL STEP~~ TOUTIERE RECIPE..

..FRENCH MEAT PIE..
we are entering the final step of making Toutiere..the actual ingredient of making this pie is using pork..but I can't eat pork so I replace it with chicken..I don't know the real taste of Toutiere..but the Toutiere that I made is delicious (I think so..is it B?) ..my first pie!...so here's the recipe ladies..

Ingredients
2 tbsp cooking oil
1 large onion, thinly sliced
1 pound ground beef
1 pound ground pork (I use chicken)
1 cup mashed potatoes(recipe on previous post)
2 tsp ground all spice ( I use basil)
1 tsp salt
1/4 tsp pepper
1 pastry for double crust pie (9 inches) (recipe on previous post)
1 egg beaten 

Method
In a skillet, heat oil over medium..saute onion until tender..remove and set aside..brown beef and chicken together..Drain..combine onion,melt,potatoes and seasonings..line pie plate with pastry..fill with meat mixture..top with crust..I made lattice top for my pie..
seal and flute edges..make slits in top crust..brush with egg if desired..bake at 375F or 190 degree for 30-35 minutes or until golden brown..
this is my Toutiere before I baked it..oishii so!

BON APPETIT!

bye for now from LOVE KITCHEN

..STEP 2~~ MASHED POTATOES RECIPE..

..GET A RECIPE OF PERFECT MASHED POTATO HERE!..

I thought making mashed potatoes is just boil the potatoes with water and mash it..and its done!..nope..I was wrong...I google so many recipes of mashed potatoes and I found the perfect one..It is so delicious..quite unhealthy I guess..but who cares?? just once a month its okay..*lol*..so the next step of making Toutiere is making mashed potatoes..Here's the recipe..

Ingredients:
1 1/2 lbs yukon gold potatoes, peeled and quatered lenght wise( I used 2 medium size of potatoes)
1/2 tsp salt
4 tbsp heavy cream (I don't know what is heavy cream so I replaced it with whipped cream)
2 tbsp butter
1tbsp milk
salt and pepper

Method
Put potatoes into a saucepan..add 1/2 tsp salt..add water until potatoes are covered..bring to boil, reduce heat and simmer, covered, 15-20 minutes, or until done( a fork can easily be poked through them)

warm cream and melt butter together, either in microwave or in a pan on the stove..
drain water from potatoes..put hot potatoes into a bowl..add cream and melted butter..use potato masher to mash potatoes until well mashed(I don't have potato masher so I just use mortar)..use a strong spoon to beat further, adding milk to achieve the consistency you desire( do not over beat or your potatoes will get gluey)..salt and pepper to taste..

final step of making Toutiere will be posted on the next post..BON APPETIT!

..STEP 1~~ PIE CRUST RECIPE..

..THE MAKING OF TOUTIERE..
As I told on the previous post..I'm making Spanish Tortilla and Toutiere..what is Toutiere? Toutiere is French Meat Pie..I really want to learn French cooks..what I did is start goggling and searching for the recipe..there are 3 steps of making Toutiere..First is making the Pie crust...then making the mashed potatoes..and final step is making the filling..so for this post I will share how to make pie crust..

Ingredients
2 1/2 cups all purposes flour, plus extra for rolling
1 cup unsalted butter, very cold, cut into 1/2 inch cubes
1 tsp salt
1 tsp sugar
6 to 8 tbsp ice water ( I just used water inside my freezer but it is better to use ice water)

Method
Cut the sticks of butter into 1/2 inch cubes and place in the free for 15 minutes to an hour ( the longer the better) so that they become throughly chilled..
combine flour, salt and sugar in food processor;pulse to mix (I didn't used food processor, I just knead it all with my hand inside bowl)..Add butter and pulse 6 to 8 times, until mixture resembles coarse meal, with pea size pieces of butter.
remove dough from machine( if you are using the food processor) and place in a mound on a clean surface. Gently shape into 2 discs..Knead the dough just enough to form the discs, do not over knead..you should be able to see little bits of butter in the dough..these small chunks of butter are what will allow the resulting crust to be flaky..sprinkle a little flour around the disc..wrap dis in plastic wrap and refrigerate at least 1 hour, and up to 2 day..
the next step will be posted on the next post..

BON APPETIT!

Thursday, October 21, 2010

..LOVE KITCHEN~~ SPANISH TORTILLA..

..OMELETTE..
I'm in the mood of making new dish for my hubby..searching..and searching..so I decided to make Spanish Tortilla and Toutiere..bunyi hebat giler..actually, Spanish Tortilla is just an omelette and Toutiere is French Meat Pie..Spanish Tortilla senang je..easy and fast..tapi Toutiere leceh sikit..nak buat mashed potatoes la..nak buat pie crust la..huhu..it takes a few hours to finish the whole pie..plus kalau Aichan merengek kena la stop dulu..So for the first recipe..I want to share Spanish Tortilla recipe..

Ingredients
6 eggs (beaten)
2 Yukon Gold potatoes (potato biasa tu..I use 3 cause small size)
2-3 green onions (or 1/4 cup chopped yellow onion), chopped up to the light green parts 
1/4 cup of olive oil (cooking oil biasa pun boleh rasanye)
salt (to taste)

Method
Slice the potatoes(peeled or unpeeled) into disks between 1/4 and 1/8 inch wide.
Pour olive oil into pan and heat it over medium-high heat..when it is hot enough to sizzle the potatoes start frying them in one layer. working in batches, fry until they are lightly browned, not crispy...when they are done, let the potatoes dry and salt them well.
when the potatoes are all done, pour off most of the oil and saute the onions..when they are just starting to crisp, turn off the heat..arrange the onions so they are evenly covering the bottom of the pan..arrange potatoes on the pan in scalloped pattern (not like mine..haha)
Turn the heat back on to medium, and pour in the eggs..add a generous pinch of salt..let this cook until you see the edges of tortilla begin to set..then put the pan under the broiler (use oven grill)
cook it for 5 minutes, or until the top brown (remove pan and set it to cool for at least 5 minutes..for garnishing I sprinkle some parsley on top of it... SPANISH TORTILLA ready to eat..BON APPETIT!

bye for now from LOVE KITCHEN

Wednesday, October 20, 2010

..LOVE KITCHEN~~ FRIED RADISH CAKE..

..CHINESE CUISINE..

My hubby loves to cook and I like to eat..so compatible kan??..today my hubby made a special dish for me..Fried Radish cake..black version..really oishii..serius..this is actually chinese cuisine..this is the first time I ate Fried Radish cake or in chinese ‘Char Tow Kway’ He found this recipe from rasamalaysia.com..I want to share this recipe with you..


INGREDIENTS:
Part 1 – Making the Radish Cake
1 medium radish (about 700g when grated) + 50ml water (my hubby add some carrot also)
200g rice flour
250ml water
1/4 tsp salt
METHOD:
1. Over a very low flame, steam grated radish + 50ml water in a thick stainless steel pot (or non-stick pot). About 30 mins, or until radish turns translucent. Remove cover and allow to cool.
2. Combine rice flour, salt and water. Mix well to combine.
3. Add rice flour solution to cooled grated radish. Stir and mix before pouring into a metal cake tin for steaming. The final mixture should resemble a somewhat watery coleslaw.
4. Steam on high for 40 mins. Leave it until completely cool (best overnight in the refrigerator), so that the radish cake firms up. It will be easier to handle too, as it will not stick to the knife when you’re cutting.


this is my hubby's Radish Cake..tadaaaa..
Part 2 – Frying the Radish Cake
Use half of the steamed radish cake above (enough for 1 or 2 persons)
1 to 2 tbsp chai poh (preserved radish/turnip)

2 to 3 eggs, lightly beaten
3 cloves minced garlic
About 2 tsp fish sauce* (or slightly more, if you like)
3 tbsp oil (vegetable oil or lard oil)
Dash of white pepper
Chilli sauce (optional, as much as you like)
About 1 tbsp Rose Brand Thick Sweet Sauce (omit this if you are frying the white version)
3 stalks chopped spring onion
Coriander leaves for garnishing
(Teochew cuisine is one of the few which makes use of fish sauce due to Chaoshan’s coastal land.)
METHOD:
1. Cut up steamed radish cake into small chunks. Smaller chunks will crisp better, and the result is a more delicious plate of Chai Tow Kway. You want a contrast in texture – a crisp exterior and a soft interior. And those really small, charred, crispy crumbs? Heaven.
2. In a non-stick skillet, heat oil and fry radish cake chunks till lightly browned and slightly crisp. Heat should be medium high.

3. Add minced garlic and chai poh. Fry till aromatic. Drizzle a little more oil if it is too dry.
4. Add fish sauce, pepper (and lashings of chilli sauce, if you like it spicy). Fry to coat evenly with seasoning.
5. Pour beaten eggs all over radish cake. Allow the eggs to set slightly before flipping over in sections. It’s OK if it starts breaking up when you flip over; you don’t need to have a perfect whole. At this stage, you can dish up and serve with spring onions if you are making the white version.
6. Drizzle Rose Brand Thick Sweet Sauce and stir fry to mix well. Dish up and sprinkle liberally with spring onions. Garnish with coriander leaves.


My hubby's Fried Radish cake..delicious!
BON APPETIT!


Bye for now from LOVE KITCHEN

Tuesday, October 19, 2010

..LOVE KITCHEN~~ BENDI CELUR DENGAN DAGING CINCANG..

..JOM MAKAN!..
I'm the worst wife ever..always masak bendi goreng ngan telur sampai hubby muak..*lol*..sorry darling..actually..bukan tak nak try resipi lain..cuma takut tak jadi..so startla searching for new recipe of bendi..so I found this blog..thanks for the recipe..my husband loves it!..I want to share this recipe wit you guys..

Bahan
10 btg Bendi
sedikit daging
4 ulas bawang putih 
1/2 biji bawang
2 biji cili merah
halia 1/2 inci
1/2 sudu oyster sauce
2 sudu kicap manis(I use kicap kipas udang)
garam

celur bendi dalam air sehingga lembut (letak sedikit garam)..setelah bendi lembut sediakan bendi di atas pinggan hidangan..potong 2 ulas bawang putih dan goreng hingga garing( mcm buat bawang goreng tu)..cincang daging, 2 ulas bawang putih, halia,bawang dan cili merah..hidupkan api..goreng bawang putih yang telah dicincang td sehingga naik bau..selepas itu masukkan bawang, halia dan cili merah..seterusnya masukkan daging dan goreng, oyster sauce, kicap manis dan garam secukup rasa..goreng hingga daging masak..masukkan bahan yang digoreng td dan tuangkan ke atas bendi yang telah dicelur tadi..siap untuk dimakan..BON APPETIT!

bye for now from LOVE KITCHEN

Sunday, October 17, 2010

..LOVE KITCHEN~~ KETAM MASAK SUP..


..JOM MAKAN!..
Our lunch for today..KETAM MASAK SUP..my mama in law recipe..before this I usually eat Ketam masak gulai nenas..never try other than that..I want to share this recipe with you guys..


Bahan
Ketam 
1 bawang
3 ulas bawang putih
1/2 inch halia
1 batang serai
garam
1/2 tsp gula
perisa

Cincang bawang putih dan goreng sampai brown..potong bawang, halia dan ketuk serai dan gorengkan sekali dengan bawang putih tadi..selepas naik bau masukkan ketam..air 2-3 cawan..garam secukup rasa..gula dan perisa..I use maggi cukup rasa..:) ..biar hingga ketam masak..sedia untuk dimakan..BON APPETIT!

bye for now from LOVE KITCHEN

Thursday, October 14, 2010

..LOVE KITCHEN~~ OREO CHEESECAKE..

..DELICIOUS!!..
My first attempt making cheesecake..with no talent..no experience..I managed to make my first oreo cheesecake..taste really gooooooddddddd....thanks to Mrs Abreeza for the recipe..want to try???here's the recipe..

Cake Base
Oreo Biscuit Base
( 200 g Oreo sandwich biscuits, finely crushed, 50 g melted butter )

Filling
(A)
750 g Cream cheese
130 g Sugar
(B)
½ tbsp Vanilla essence
(C)
3 Eggs
(D)
200 g Whipping cream
(E)
15 pieces Oreo sandwich cookies, quartered


Method

1. Press the biscuit base onto the bottom of the greased 20-cm springform tin. Bake at 160°C for 10 minutes and set aside to cool.
2. Cream (A) until smooth. Add (B) and cream until well blended.
3. Add (C) one at a time and cream until smooth.
4. Add (D) and cream until well combined. Add (E) cnc stir until well mixed.
5. Pour the cheese filling over the prepared biscuit base.
6. Bake at 160°C for 50 minutes or until centre is almost set. Turn off the oven and leave the cake cool in oven with the door slightly open for 1 hour.
7. Run a small knife around the rim of the pan to loosen the cake. Set aside to cool.
8. Cover the cake and refrigerate for 5 hours or overnight.
9. Unmould the cake. Pour some ganache in the centre. Refrigerate it for 2 hours to let the ganache set.

what is ganache??ganache is topping choco..BON APPETIT!!

Bye for now from LOVE KITCHEN

Thursday, October 7, 2010

..LOVE KITCHEN~~ KEK BATIK..

..CAKE..
I've made kek batik before..but always fail!!!..don't know why..some of my friend told me I have to 'lemaukan biskut marie'..the first kek batik I made so 'katai'..keras..tak boleh nak potong langsung..*lol*..now..I'm going to try Cik Su's recipe..one of my bestie in Sendai..thanks Su..

Ingredient:
Biskut Marie 1 box
milk choc bar 200g
4 spoon of butter or marjerin
3/4 cup of water
1/4 cup of condense milk

Boil water and add milk choc bar..stir till it melt..put butter/marjerin and condense milk..wait till boil..and off the fire..break biskut Marie and put inside tray (I put some chopped almond inside just to make it a little different)..pour all inside the tray and leave it till it cold..after that..put inside fridge..ready to eat..Bon Appetit!!


bye for now from LOVE KITCHEN


Japanese lesson for today
Katai means hard

Friday, October 1, 2010

..LOVE KITCHEN..~~LAKSA JEPUN...

..SANMA..

Craving for laksa??here's my story of 'laksa jepun' begins...I have one packet of dried laksa which I didn't touch since last year..before it end up at my 'gomi' so I better do something..I never cook laksa before..so I start googling through internet and search for laksa recipe..oh gosh!! mackerel??where can I buy it in Japan..so I asked my hubby which is expert in cooking..he said how bout we use sanma instead of mackerel..hmm..ok.. sanma fish..
so its time to go for food shopping..alamak..bunga kantan???one of our friend told us that there have some plant which is similar to bunga kantan..
sama kan?? so we used this..actually i'm the one who supposed to make this laksa..but it turn up Aichan is not so well..so mama has to take care of her..daddy has to cook..i'm so proud of my hubby..he did an amazing job..our 'laksa jepun' tasted sooooo oishiiiiiiiiiii....I want to share our 'laksa jepun' recipe with all of you..

Here's the ingredients:
3 sanma fish
laksa
2 red onion 
3 cloves of garlic
1 1/2 spoon of blended chilli 
asam keping
belacan
salt
bunga kantan

garnishing:
boiled eggs
cucumber

Using blender grind garlic,onion and belacan..add whole cleaned fish and boiled it in a pot of hot boiling water..pick the flesh all out of fish and discard the bone..blend fish and put inside the pot..pour some water and add blended garlic,onion,belacan and chilli..add asam keping ,bunga kantan and salt and wait till it cook..bon appetit!
dah penat masak..daddy main ngan Aichan plak..:P

Japanese lesson for today
gomi means rubbish/garbage
oishi means delicious

bye for now from LOVE KITCHEN..

Wednesday, June 30, 2010

..UMAI AND CHOCOLATE CHIP MUFFINS..

..SEDAP..TAPI..TAK..CANTIK...

Remember that I promise to give you guys ‘CHOCOLATE CHIP MUFFINS’ recipe????..I’m so sorry that I can’t show the real pic of my muffins..because it turn out to be a disaster in shape!!!!..hate it…LESSON:: buy muffin pan to ensure your muffin on perfect shape!!! And I can’t give to you my frosting recipe..cause my frosting kind of ‘tak jadi!!’..huhu…sedih..:( …but the taste of my muffins is perfect!!!..the way I like it!!!...thanks to one of this website who teach me how to make CHOCOLATE CHIP MUFFINS..here’s the ingredients…

this pic taken from internet...:P

INGREDIENTS
chocolate chips (as much as you like)
150gm of soft butter
4 medium eggs
2 ½ cups of flour
1 cup of sugar
¼ cup of milk
1 tablespoon of baking powder
½ teaspoon of vanilla extract
½ teaspoon of salt

Preheat your oven to 400°F (200°C) and butter your muffin pan….beat the butter and the vanilla extract together to form a light, airy mixture….One at a time, add the eggs, and beat gently… Add ¼ cup of the sugar after each egg and mix thorougly.Put the baking powder and salt in the milk, then add to the mixture…Fold in the flour and the chocolate chips….Pour the mix into your buttered muffin pan, filling each cup two-thirds full…Bake for 25 minutes or until muffins turn golden brown…ready to eat!!!!


I will try to make frosting one more time again…if my experiment success I will post another recipe of frosting..

Latest pic of Umai trying to be Japanese(taken by my hubby)..learn how to use hashi (chopstick) for the first time..

Saturday, June 19, 2010

...COOKING LESSON: HOW TO MAKE CHICKEN CURRY???...

Don’t be surprised….I’m not a good cook but I taught my friend Carrie how to make chicken curry today..thank god she and her husband David like it..and we make some paratha..just instant one..I never make curry before I married…I never knew how to cook either..but if you have husband..you have to learn!!!!.. curry is one of my husband favourite meal..so in order to satisfy his tummy I learn how to make curry with my mom in law..at first..I thought that making curry is the hardest thing on earth..but if you always making it..it is not that hard..you guys want the recipe??? Here it is..

Ingredients:

3 chicken legs with bone
2 potatos
1 1/2 onion
1 inch ginger
2 spoon blended chilli
2 1/2 spoon curry powder
1 cinnamon
1 star anise
Oil
1/2 teaspoon salt
1/4 teaspoon sugar
1/2 cup of coconut milk/ condense milk
1/2 teaspoon of tamarind paste
5 curry leaves (optional)
1 teaspoon of Mixed spices (optional)

First..you have to cut the chicken and put it inside bowl..blend 1 onion, ginger and curry powder…put all the blend ingredient and blended chilli together with the chicken..and keep it for 5 minutes…pour some oil inside pan and fried the cinnamon and star anise..after that put the chicken with all blended stuff inside the pan and put 1 cup of water to make the chicken cook well..put the potatos at the same time..after the chicken cook a bit..put coconut milk or condense milk and also tamarind paste..put sugar and salt too..make them cook for about 15 to 20 minutes..off the fire and put the curry on side….slice the another 1/2 onion you have and fried it with mixed spices and curry leaves..till the onion brown..put all the fried ingredients with the curry that you already cooked and mix them well..AND READY TO EAT!..you can have it with paratha, rice or any bread..BON APPETIT!!!!!!

LinkWithin

Related Posts with Thumbnails